


01

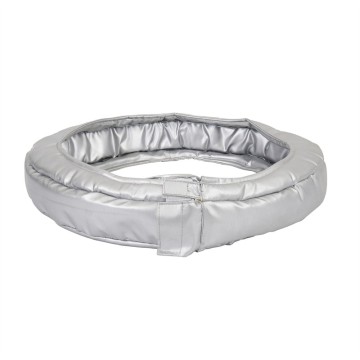
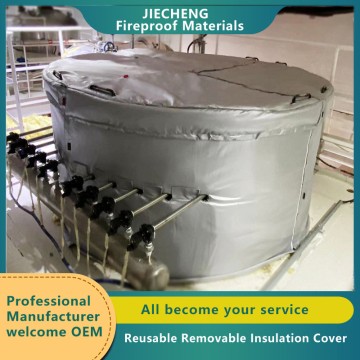
Easy - Install Removable Insulation for Industrial Machinery
Basic Info.
| ??Waterproof | Yes | ??Fireproof | Yes |
| ??Energy Saving | Yes | ??Colour | Grey |
| ??Warranty | 2 Years | ??Refractoriness | 200-450℃ |
| ??Diameter | 10-50mm | ??Apparent Density | 180~210kg/m3 |
| ??Usage | Exterior Tiles | ??Transport Package | Standard Export Carton |
| ??Specification | customized | ??Trademark | Jiecheng |
| ??Origin | China | ??HS Code | 7019909000 |
| ??Production Capacity | 30000/Year | ? |
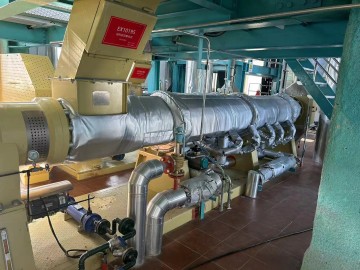
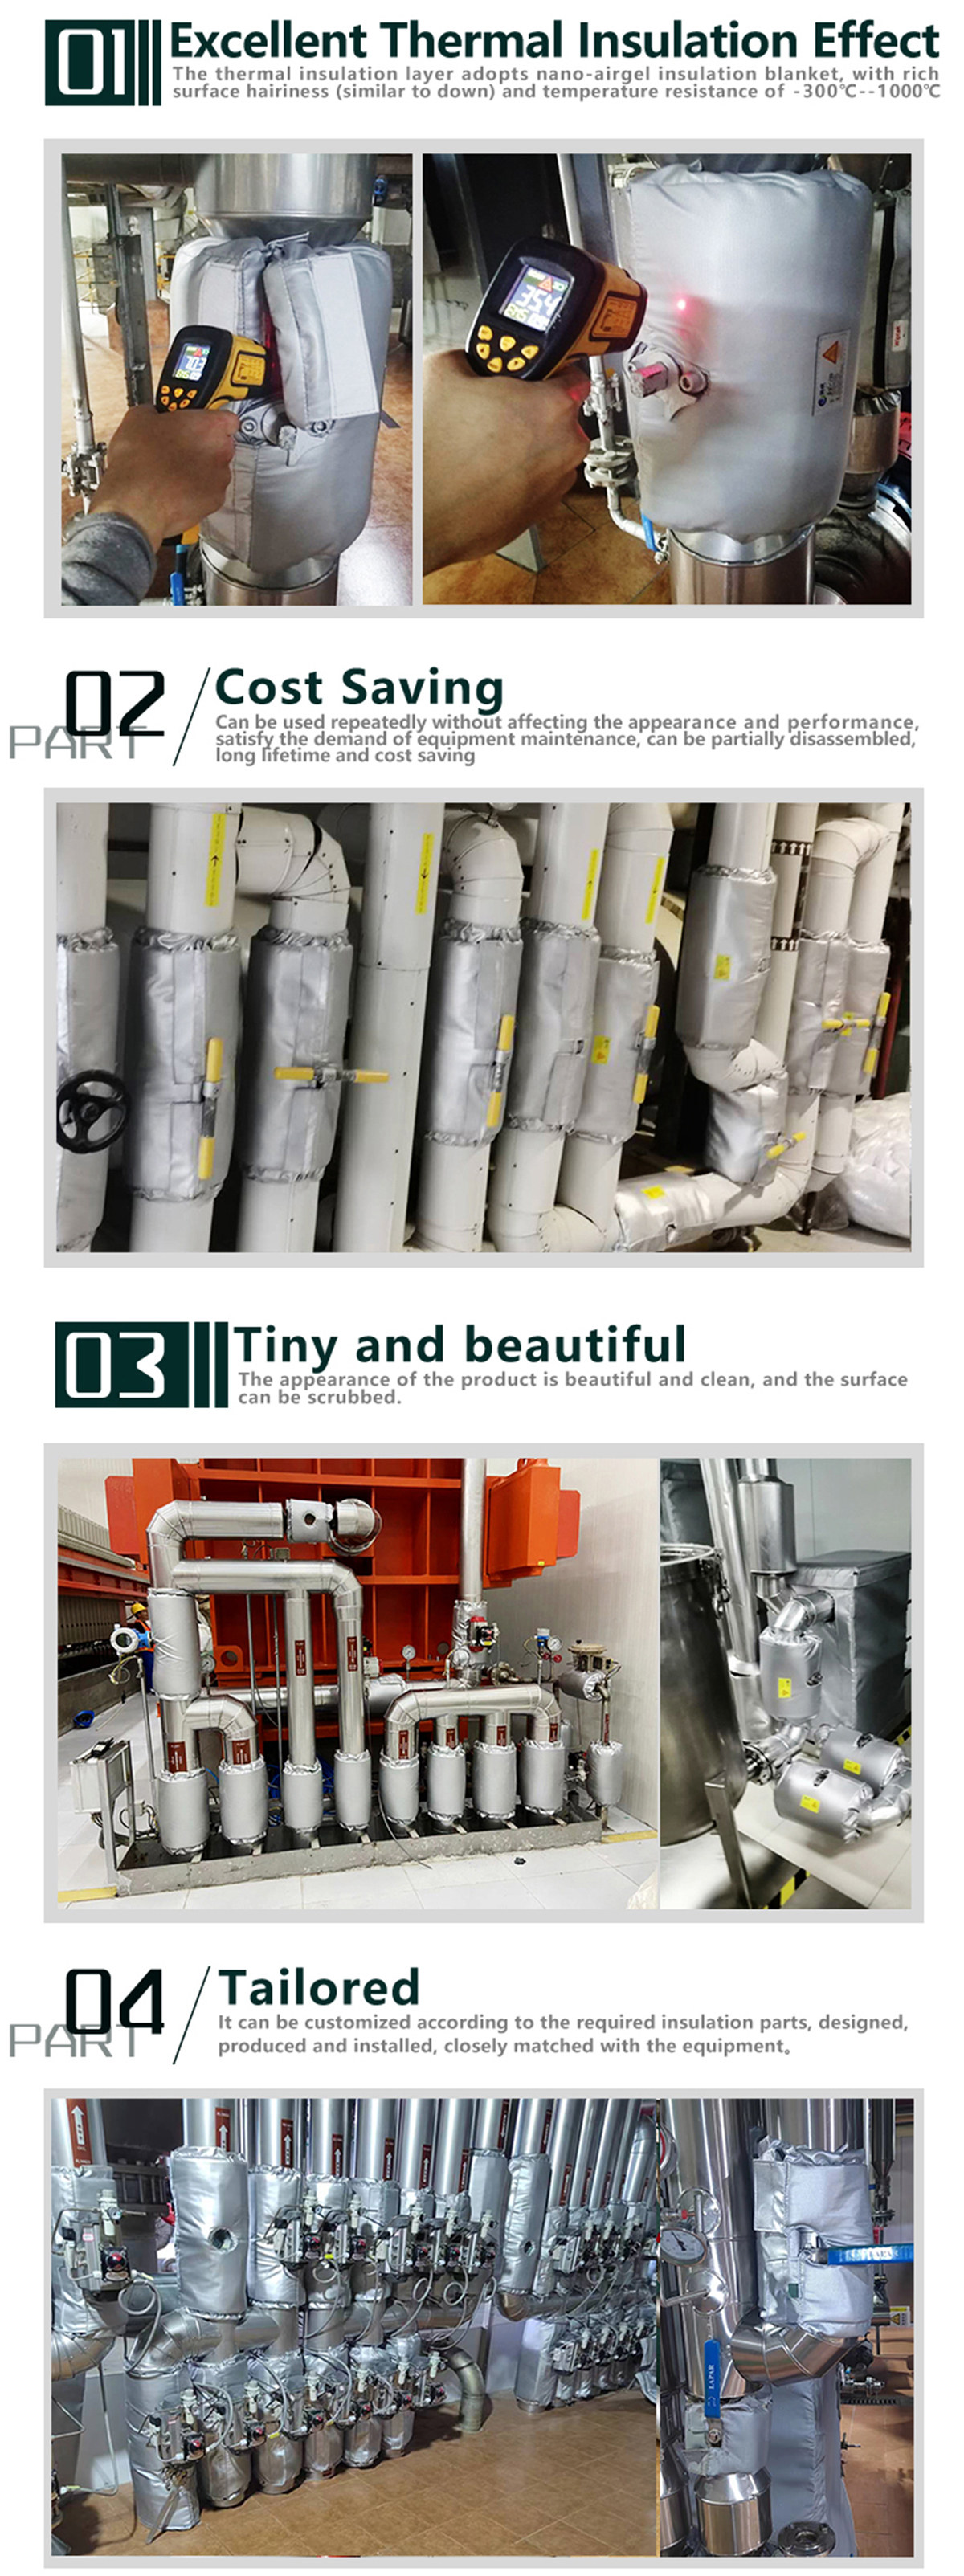
High-efficiency thermal insulation and energy conservation
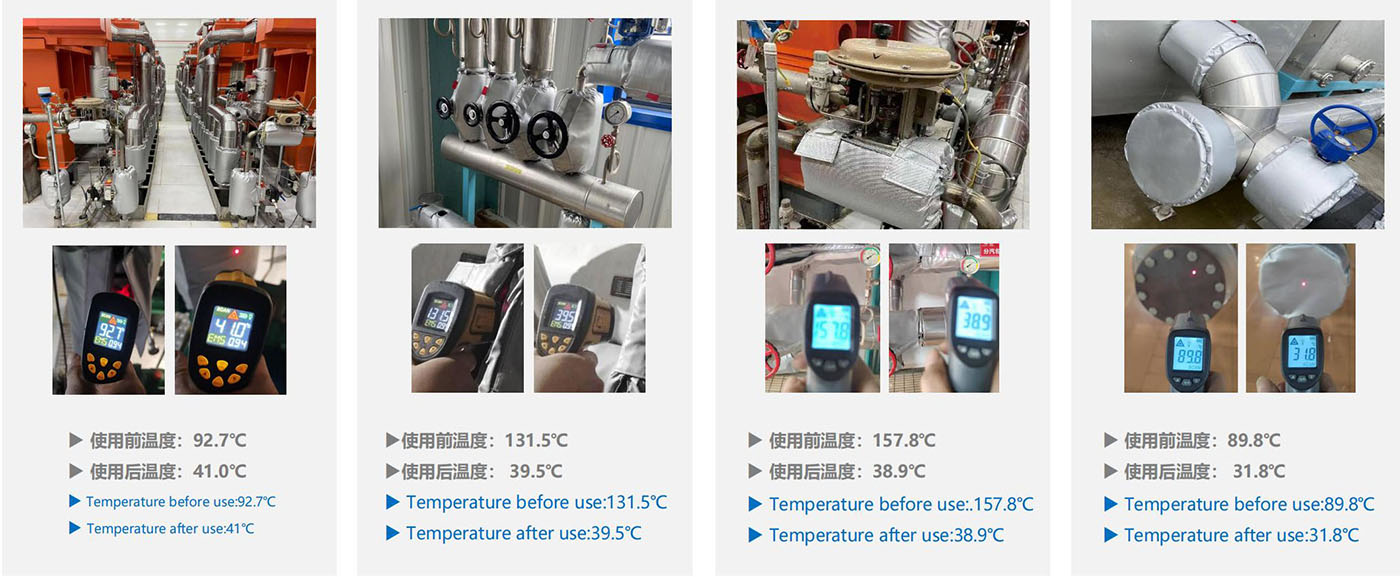
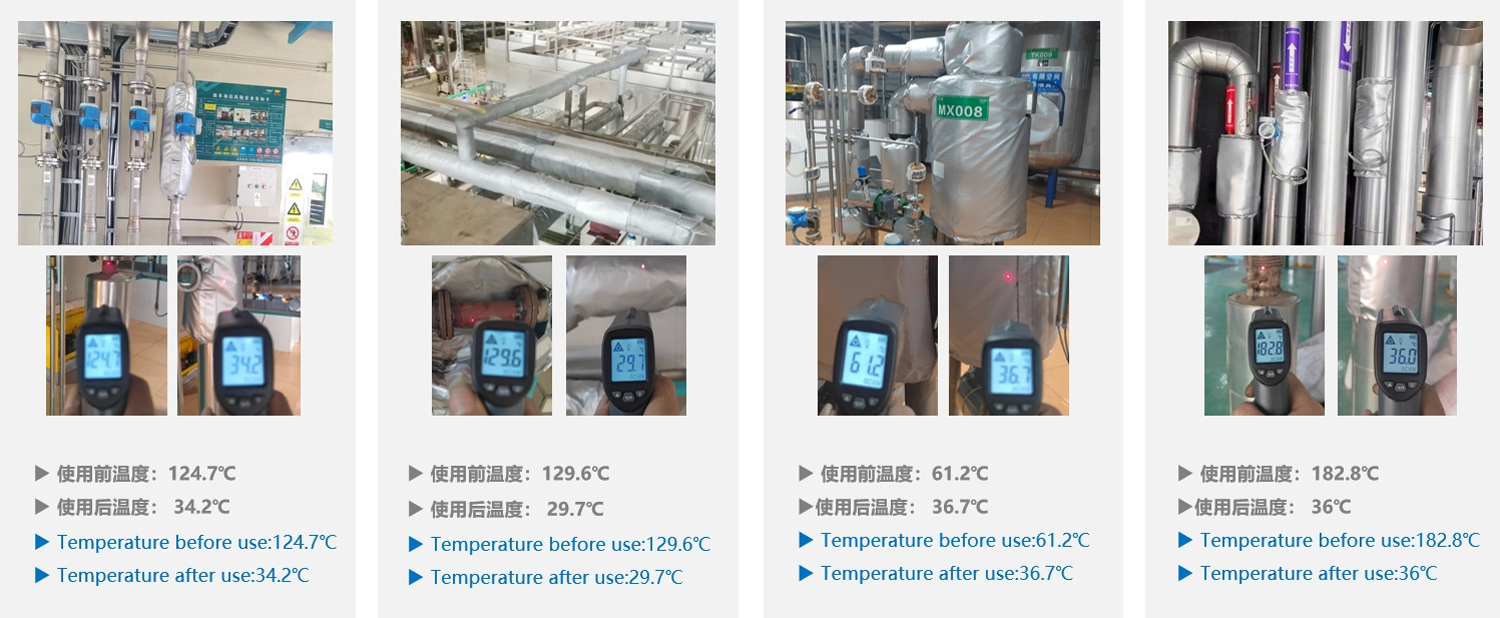
High-efficiency thermal insulation and energy conservation: The insulation jacket can significantly reduce the heat transfer of valves. For valves with high-temperature media, it can effectively prevent heat dissipation, and for valves with low-temperature media, it can prevent cold loss. This reduces energy consumption, improves energy utilization efficiency, and cuts down on operating costs. For example, in a steam pipeline system, after installing the insulation jacket, the heat dissipation of the valves can be reduced by approximately 80%, saving a substantial amount of energy.
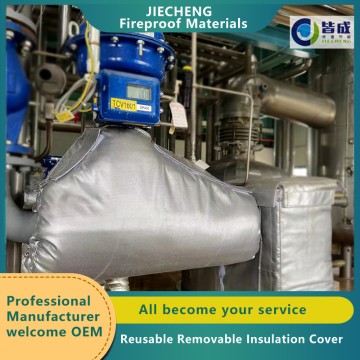
High safety performance
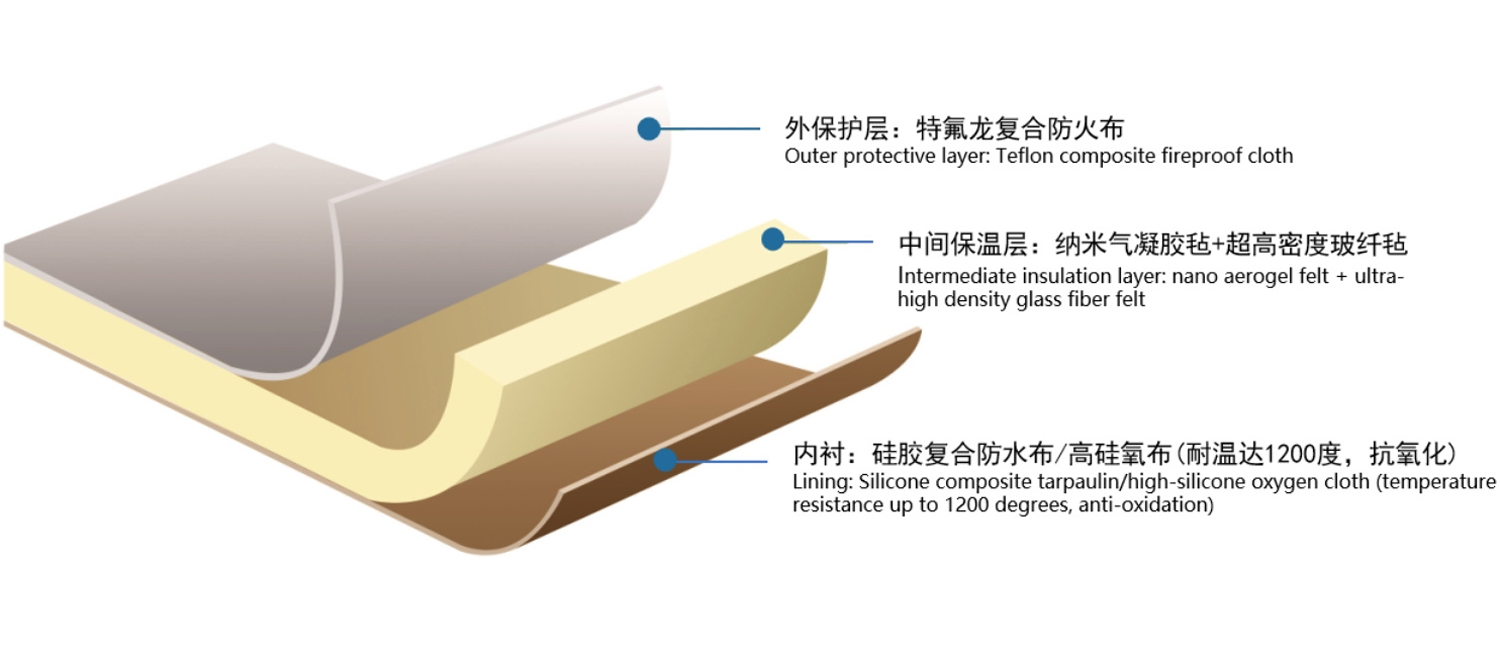
The materials used for the insulation cover generally have good flame retardancy and high-temperature resistance, which can effectively prevent fire accidents and ensure production safety.

Here are the operating steps for installing the valve insulation jacket:
1.Prepare the tools and materials: Gather the necessary tools, such as scissors, tape measures, and utility knives, as well as the insulation jacket and any accompanying fasteners or sealing materials.
2.Measure the valve: Use a tape measure to accurately measure the dimensions of the valve, including its length, diameter, and any protruding parts. This ensures that the insulation jacket fits properly.
3.Clean the valve surface: Remove any dirt, oil, or rust from the valve surface using a clean cloth or appropriate cleaning agent. A clean surface helps the insulation jacket adhere better and ensures good thermal insulation performance.
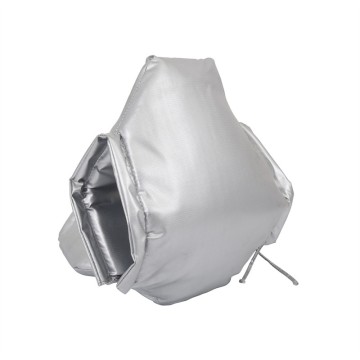
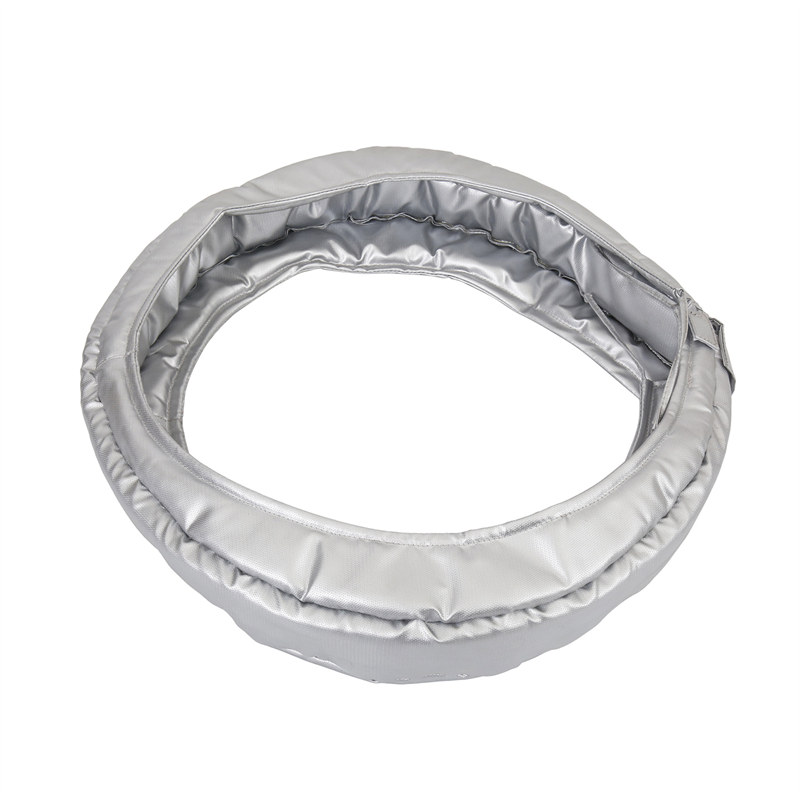
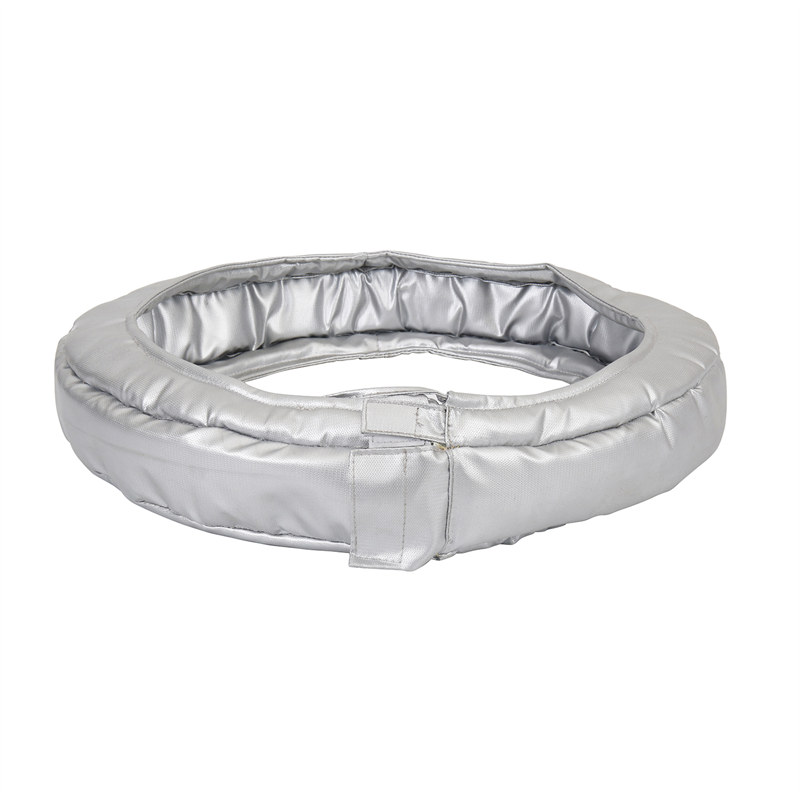
4.Install the insulation jacket:
1).Unfold the insulation jacket and place it over the valve, aligning it properly. Make sure the jacket covers the entire valve evenly, including the valve body, stem, and any attached fittings.
2).If the insulation jacket is in multiple pieces, assemble them in the correct order and secure the connections tightly. Use zippers, buckles, straps, or adhesive tapes to fasten the jacket around the valve, ensuring a snug fit.
3).For some insulation jackets, there may be specific installation instructions for wrapping around complex valve shapes or dealing with protruding parts. Follow these instructions carefully to ensure a proper installation.
5.Seal the edges and joints: Use sealing materials such as silicone sealant or adhesive tape to seal the edges and joints of the insulation jacket. This prevents heat or cold from escaping through the gaps and improves the overall insulation effect.
6.Check and adjust: After installation, carefully check the entire insulation jacket to ensure that it is installed firmly and there are no loose or damaged parts. Check if the valve can still operate smoothly without being affected by the insulation jacket. Make any necessary adjustments to the jacket or fastenings to ensure a perfect fit and normal valve operation.
7.Mark and label (if necessary): If there are specific requirements or regulations, mark or label the insulated valve for identification purposes. This may include information such as the valve type, operating temperature, and maintenance instructions.
Inquire Now!
For inquiries about our products, please leave your email to us and we will be in touch within 24 hours.